
To make an A2 card with a faux leather background, here are
the supplies you will need:
Brown cardstock cut 4” x 5 ¼” (I used MFP Hazelnut Tan
Two shades of darker brown ink (I used Tim Holtz Distress
Vintage Photo and Walnut Stain)
Sponge applicators
VersaMark
Embossing folder (I used a Cuttlebug animal print)
Clear embossing powder
Cuttlebug or Big Shot
Heat tool
Heat tool

Step 1
Sponge lighter shade of brown to the cardstock.

Step 2
After completely covering cardstock with first brown color,
sponge darker shade of brown around the edges.
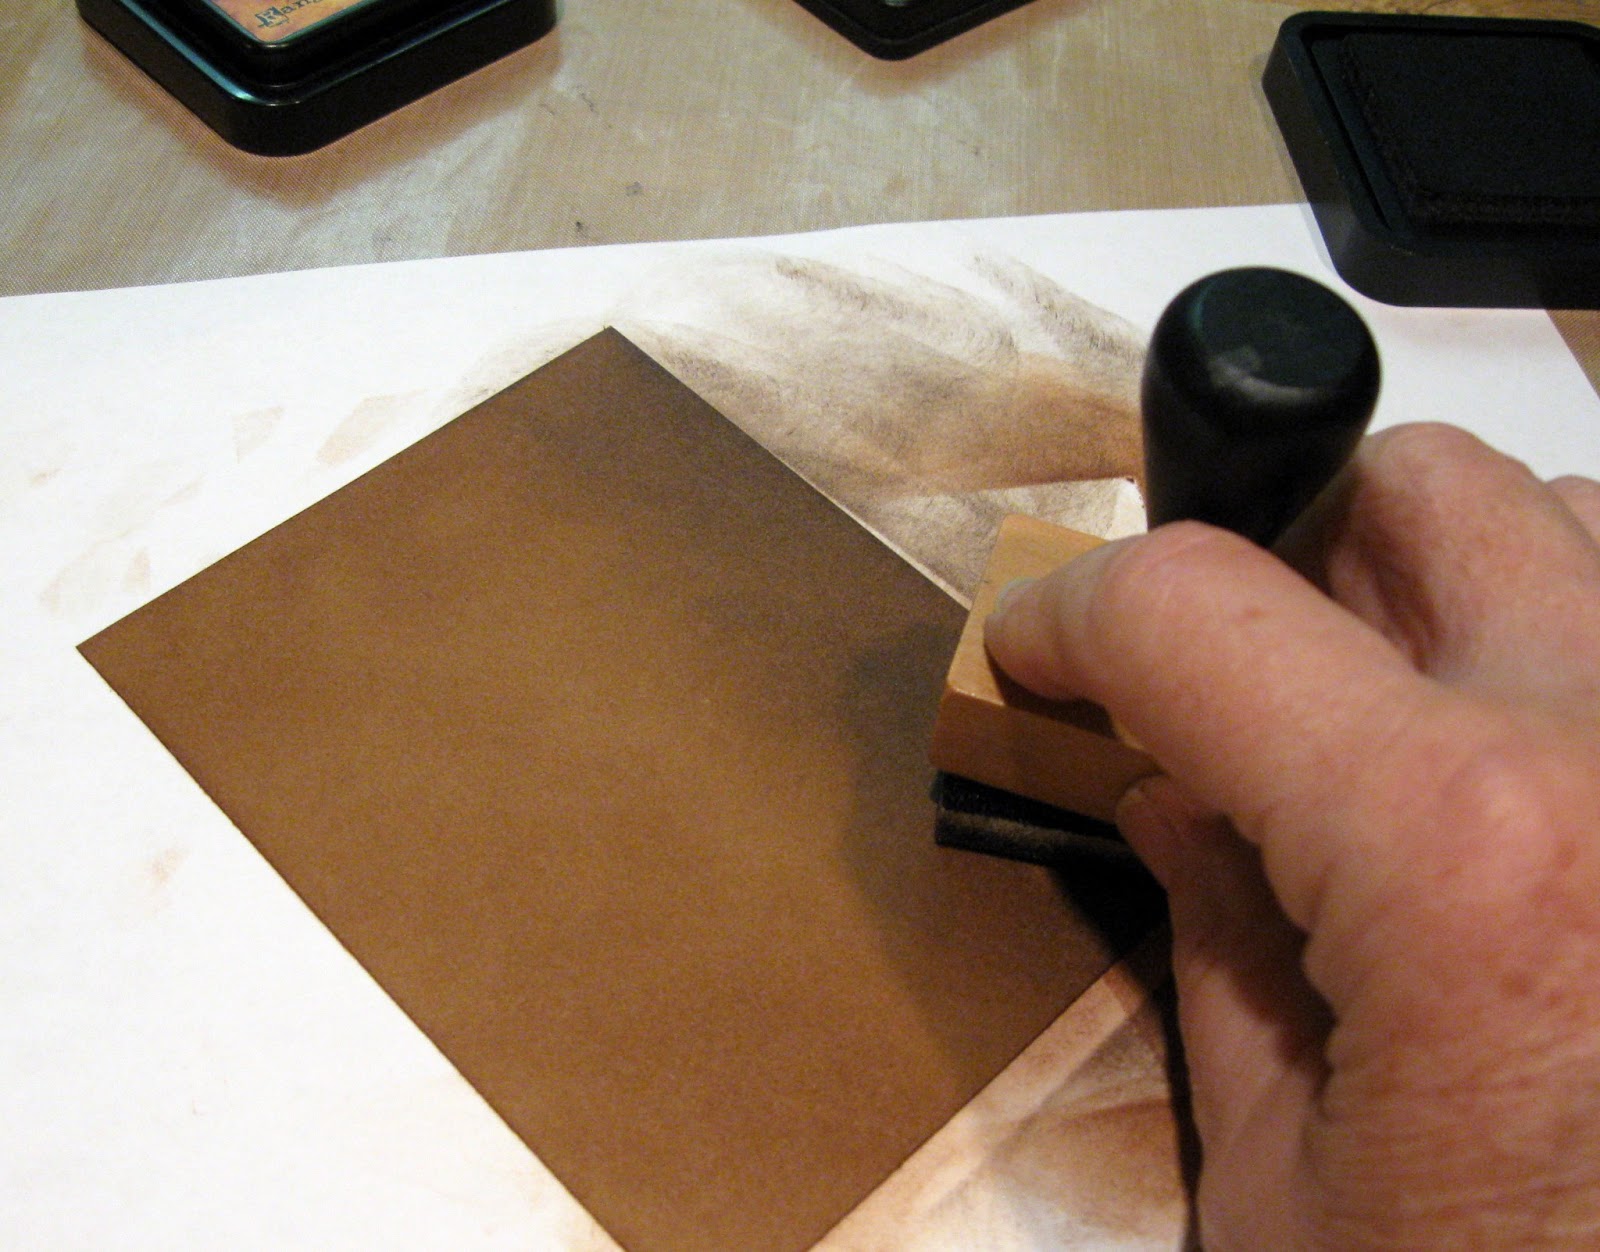
Here is a photo of the cardstock after both shades of brown
have been applied. Note that colors are
not evenly applied. This will give some
additional texture.

Step 3
Place cardstock inside embossing folder so that the sponged
side will be the embossed side. Run
through the Cuttlebug or Big Shot.

Step 4
Rub darkest brown ink over the embossing.

Step 5
Cover entire piece of cardstock with VersaMark, making sure
that debossed sections are also covered with VersaMark.

Step 6
Cover entire piece of cardstock with clear embossing powder.
Step 7
Carefully emboss using heat tool.

Here is the completed faux leather piece.

You can now create your card in any way you wish. This background looks good on a masculine
card.
Here is my finished card.

4 comments:
FAB card and tutorial Lois!! That really looks so real Im going to try that :)
I love this. Can't wait to try it. TFS! kren
Wow, that is an awesome technique. I like it. Thanks, so much for sharing.
Wow! What a fab technique and tutorial! thanks so much for sharing!
Post a Comment